All you need are some test tubes, spoolies and you’re all the bash. You don’t need fancy button tops, although a spot of glue and a cabochon of the right size from a craft shop would do the business, as would raffia, wrapping or even just a pretty button or crystal that fits in the top. The ones from the list above from Amazon, are just spoolies pushed through the cap of a test tube.
I wrote about this already, but here is a wee tutorial to follow.
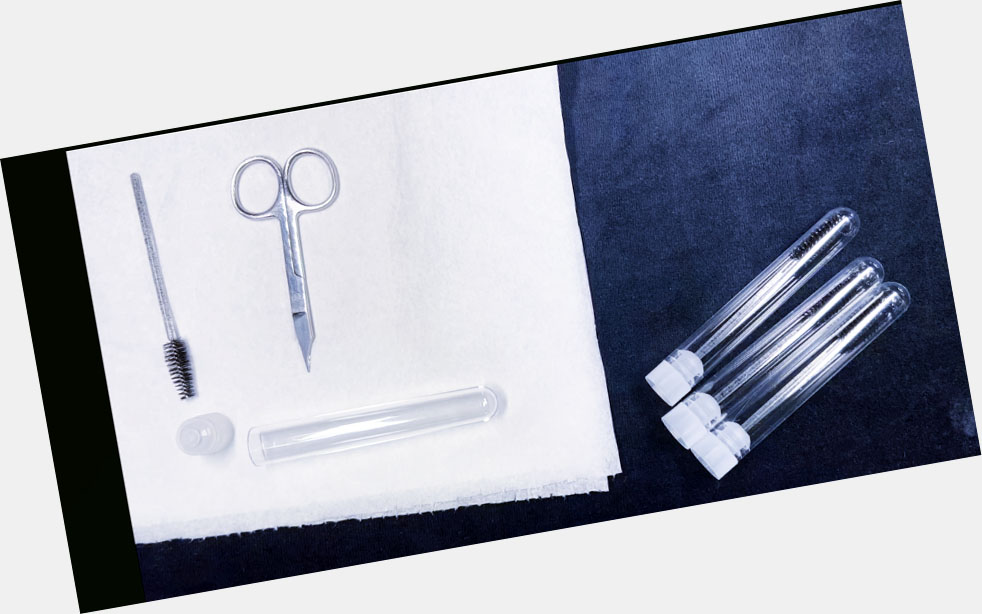
Supplies
Mascara Wands (Spoolies) (Lash Brushes)
Scissors
10cm Test Tubes
Lids for Test Tubes
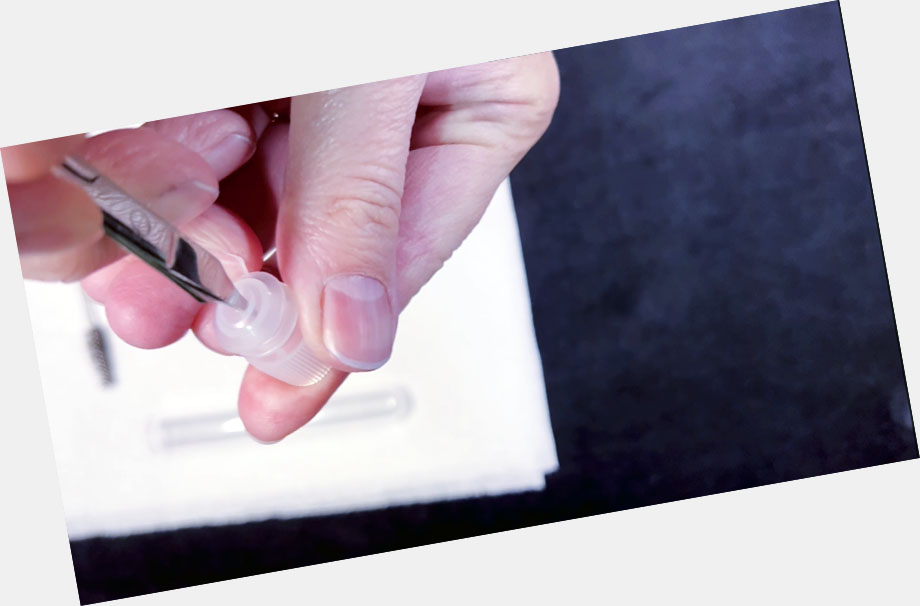
Method
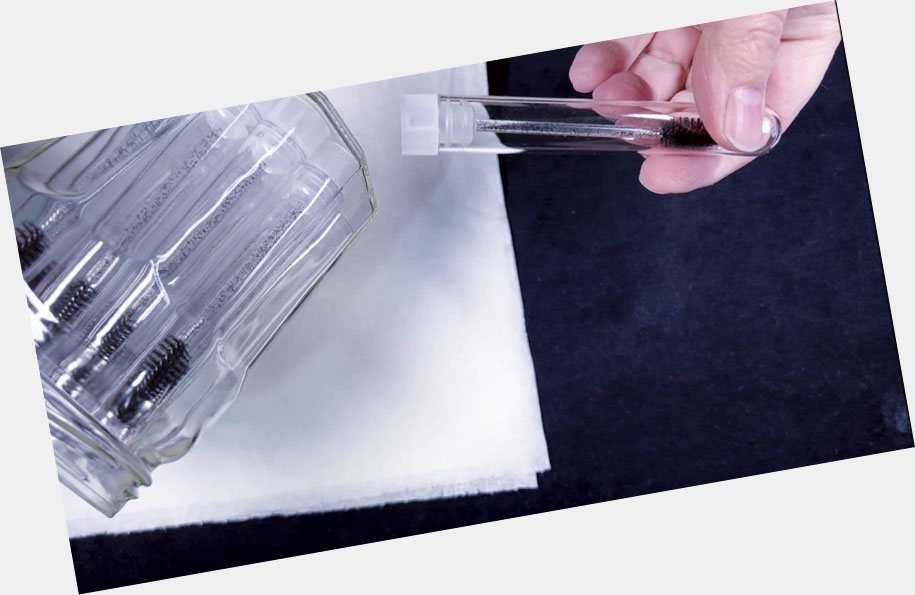
Push Scissors through lid and twist in a 360 degree circle, to make a little hole.
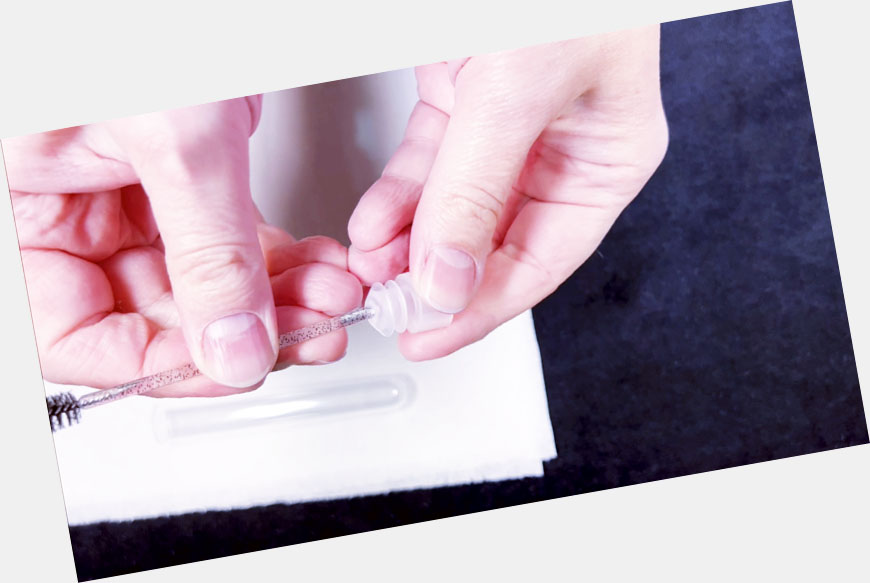
Push spoolie end firmly through the hole in the cap. It will be fairly solid if you are using a small pair of scissors.
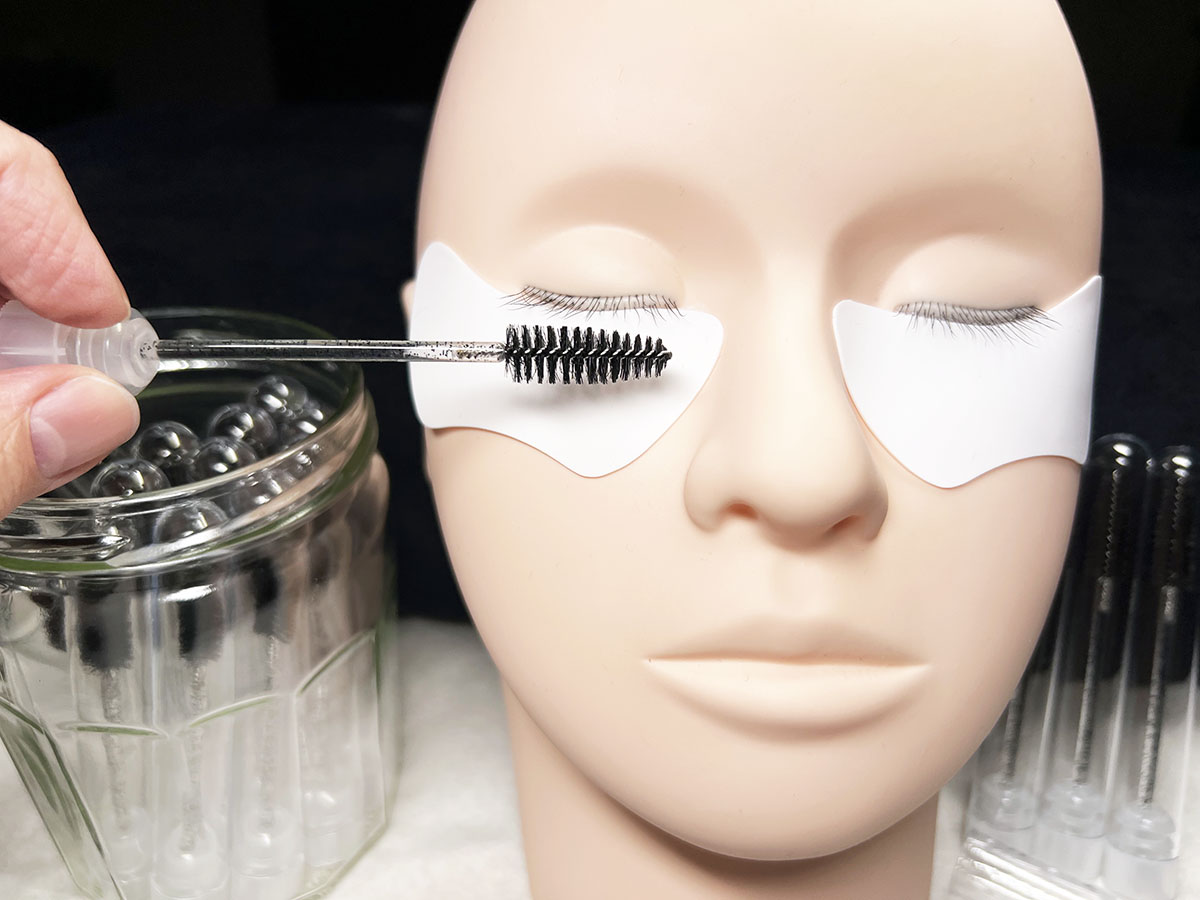
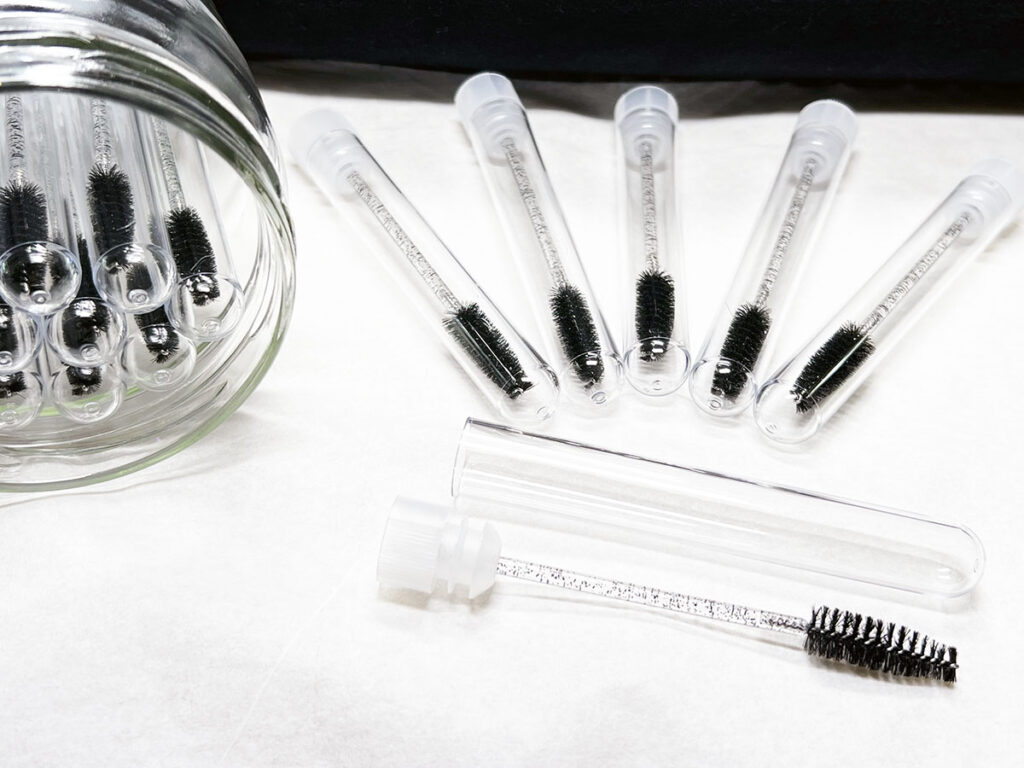
That’s it. Spoolies done, and keeping your clients giveaway spoolies dust and bacteria free.
You know what I mean. They’re everywhere on Etsy, Amazon and E-Bay, and that’s not the only places to find them. Before you click buy, really do shop around or consider making your own.
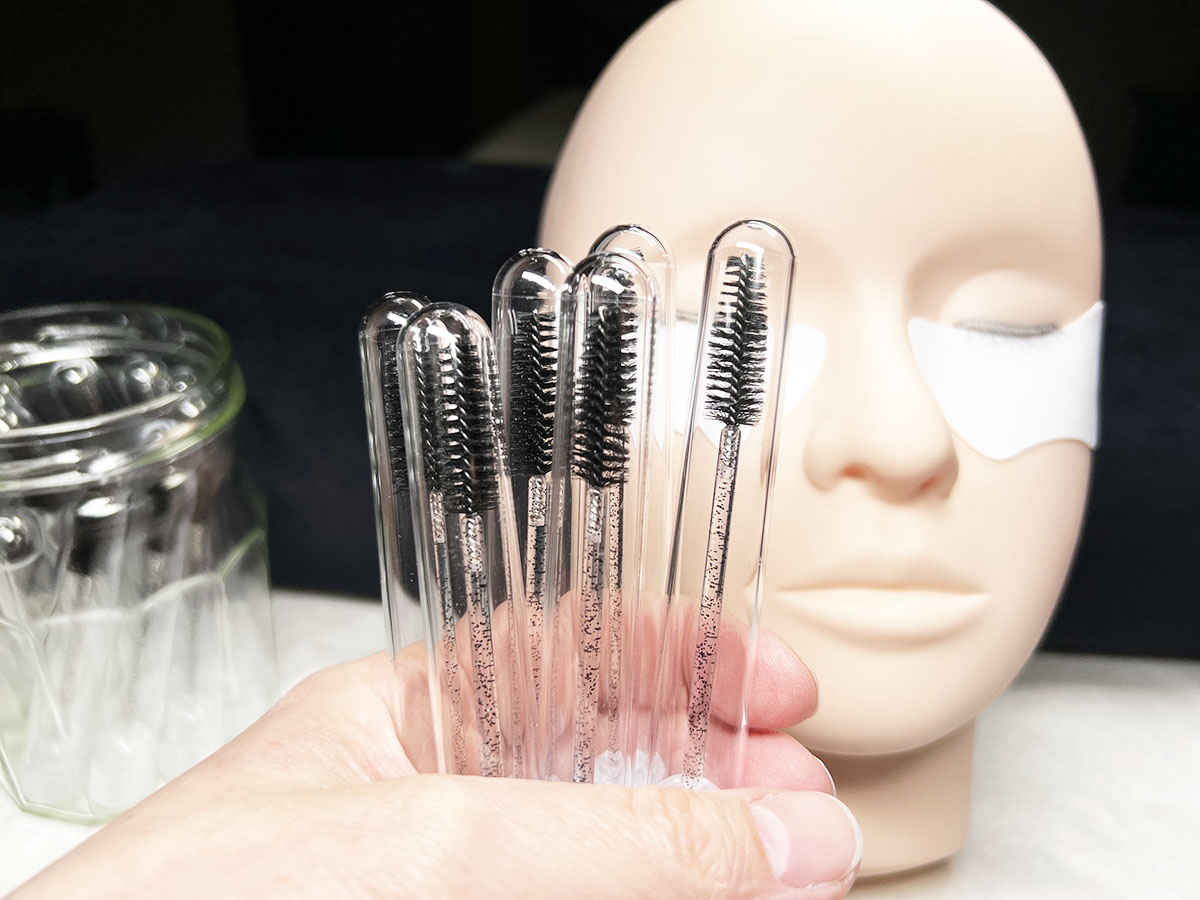
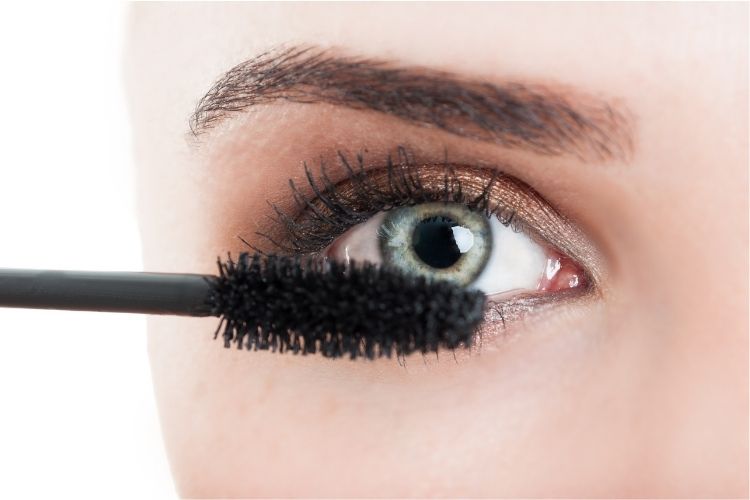
The idea of putting mascara wands in tubes really kicked off during the Covid pandemic, when it became essentional to show our products as bug and virus free as possible. Yes, I know that therapists, sanitise, deodorise, wash, sanitise again, disinfect and often sterilise as well. But our clients don’t see all that, especially during eyelash treatments.
Clients also like a wee giveaway. It makes them feel just a little special when they leave lash chairs and beds. We’ve tended to buy our mascara wands in bulk packs generally, and then take one out at a time as part of our aftercare for clients in the real world, so adding some packaging that doesn’t cost the earth is important, especially since our materials costs have now gone up in price, as well as the price of heat, light and PPE.
Many therapists have switched to using test tubes as a way to keep their mascara wands clean and tidy and safe to hand over to clients.
There are several options.
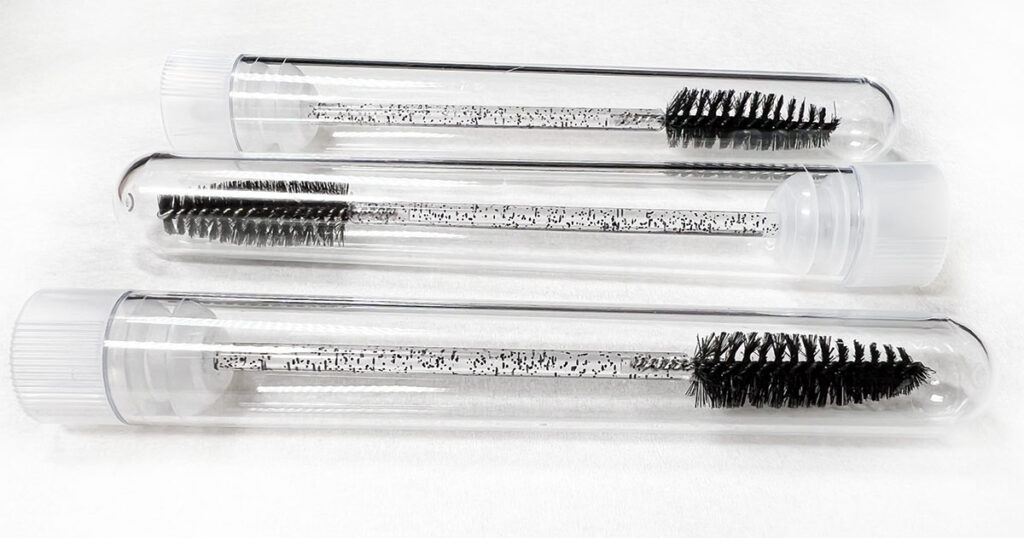
Ready Made Mascara Wands in Tubes. Remember that marketplaces can have very high postage prices that far outweight the cost of manufacture, and aren’t always the best options. Some examples below. They may be the right decision for you.
All you need are some test tubes, spoolies and you’re all the bash. You don’t need fancy button tops, although a spot of glue and a cabochon of the right size from a craft shop would do the business, as would raffia, wrapping or even just a pretty button or crystal that fits in the top. The ones from the list above from Amazon, are just spoolies pushed through the cap of a test tube.
We tend to hear about media kits as more for bloggers and online professionals, but there are many situations where therapists, stylists, beauty and aesthetics professionals might need to have a media kit that can be used to promote themselves and their businesses.
If your business is picked up in the news, or you want to be shared on bloggers websites, having your own media kit, can make another business decide whether to work with you or not. It’s not all just about making your own way in the world.
Why have a media kit?
The media kit contains information about your, your business, your services and any events that you decide to hold. The information in the media kit, can help journalists, bloggers and your niche writers, to write a story about you. In short, having a media kit you can quickly tailor and amend, makes it makes it easier for you to be featured, that it is for other businesses in your area.
A media kit is usually in digital format these days, and can be either downloadable and sent to interested parties, or viewable online.
Use a media kit to:
Send to local newspapers and journalists to tell them about yourself.
To send to your media and bloggers, to decide if they want to work with you on future collaborations.
Advertising your media kit on your website, helps brands decide if you have enough followers and exposure to include you in press releases, for sponsored content and samples.
What is in a media kit?
This depends on you, however the basics are usually.
Who you are, and what you do.
Your contact details.
A short biography.
Some relevant imagery in low resolution images that journalists or bloggers can contact you for high quality images if they decide to use your information.
Your social media user names and follower counts.
Your website page and unique views.
Your website subscribers or mailing list subscribers.
If you are publicising an event, add some details to your media kit.
Think about adding a testimonial. If you use a template, you can change the media kit to suit each need you have for it, and not be stuck with simply one version that you can’t change.
Any awards, or publications or media you have been featured in.
Interesting things about you or your business, ie any unique selling points that you have.
If you are offering a free service, such as a new hair style or beauty treatment, ensure you send personalised media kits in PDF format to those receiving and stated as non transferrable, otherwise, you might end up with your offer sent out to many other people.
For many of the templates you can find here, it is very simple to change the size of the template to suit what you are looking for. While I have included a few templates with A4, A5 and A6 sizes, it is fairly simple to have Canva change the size you need, while also keeping everything in the right proportions. Obviously, that applies to landscape to landscape and portrait to portrait sizes.
If you plan to take a landscape document and make it portrait and vice versa, you might find yourself with a headache, as there will be manual changes needed.
Here’s How to Change the Template Sizes
In Canva, open your template, the take your cursor and click the resize menu button along the top bar, which is in blue on the right hand side of the image above.
Change the width and height to suit what you need. This is an A5 size at 210mm x 148mm. If you change that to 148mm x 105mm, you will find the template automatically changes to A6 when you click button below it that says Copy & resize. It’s that simple.
Lovely leaflet with the follow on information for your clients. Tailor the information to suit what you are looking for in your own business/salon, whether you work for yourself, in a salon, mobile or own your own salon. Everyone needs great paperwork to back up their services.
Some of the following aftercare advice is common sense, but it does help to have it added to your consultation form, that you have discussed this with your client, and they have taken away your aftercare advice and signed for it on the consultation form. If you don’t have a spot for this on your consultation form, just add it at the bottom and have your client sign for it.
NB: Always ensure you follow the aftercare advice you were taught in your course, and replace the wording in the document to suit the needs of your business, treatment, insurance and training. We are not responsible for your not amending the template to match your business, training and insurance needs.
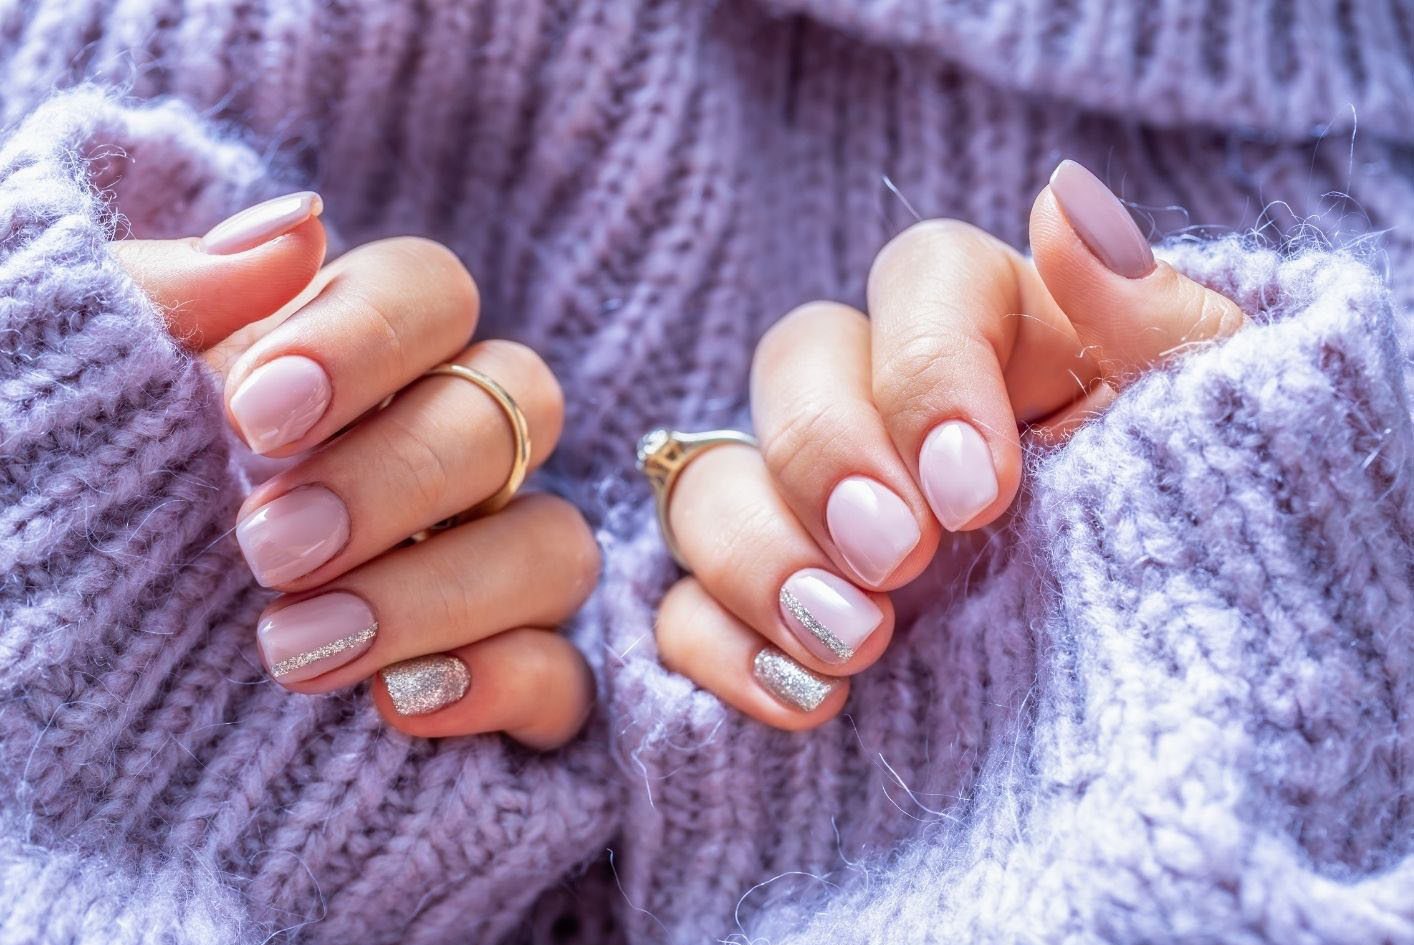
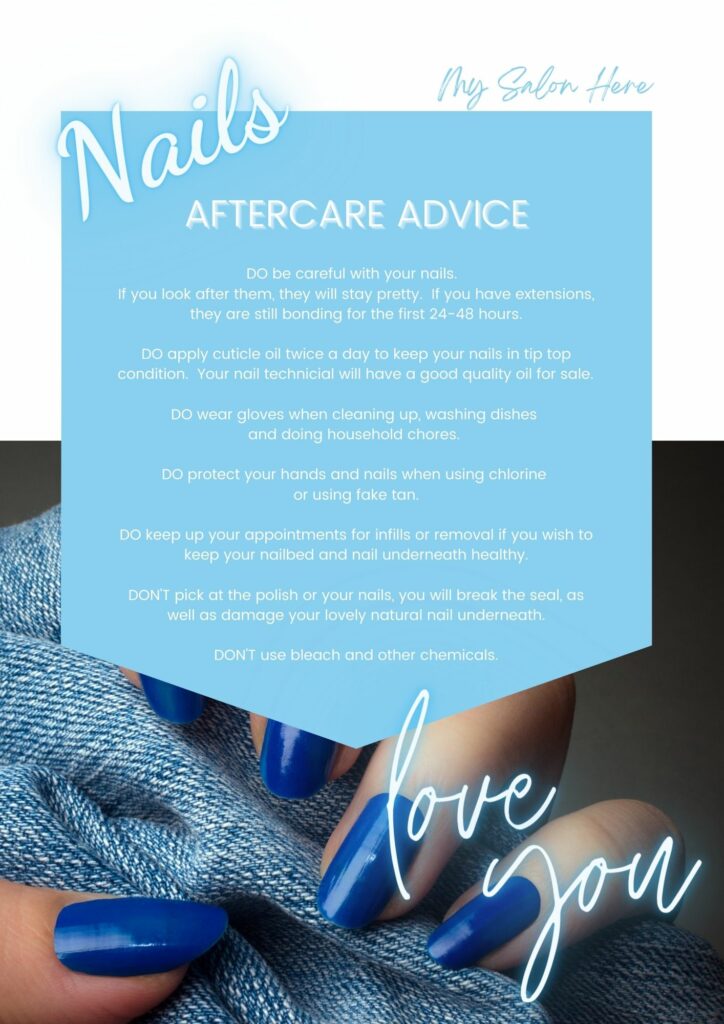
The nails aftercare form is in five different colours with representative images. We have purple, blue, pink, green and red in the template, which is fully customisable within a free account on Canva. These make sure you never run out of aftercare leaflets again.
All you need to do, is change the text to suit your business, save the format to your own computer in whichever method and size you wish, then simply print off when you need them. If you want to be extra special, put the name of each client on the form. How impressive would that be?
General Aftercare Advice for nails.
Do be careful with your nails.
If you look after them, they will stay pretty. If you have extensions, they are still bonding for the first 24-48 hours.
DO apply cuticle oil twice a day to keep your nails in tip top condition. Your nail technicial will have a good quality oil for sale.
DO wear gloves when cleaning up, washing dishes and doing household chores.
DO protect your hands and nails when using chlorine or using fake tan.
DON’T pick at the polish or your nails, you will break the seal, as well as damage your lovely natural nail underneath.
DO keep up your appointments for infills or removal if you wish to keep your nailbed and nail underneath healthy.