There are many PDF annotation apps in the world now, and it pays for you to have a look at a few of them if you are looking towards having your clients fill out an electronic form while in the salon. With the best intentions, we can send a form for our clients to fill out, but most will come without the forms completed.
Having digital forms for clients is a growing trend as we move forward in the 2020’s. Combine an iPad, a stylus and a digital form to give your clients a great experience with modern techniques.
PDF Annotation Apps allow us to have clients fill in a pre made for,. while using a tablet that is stylus compatible as a pen tool.
There are many different apps, some of which I’ll mention below. I’ve picked out Goodnotes for Apple gadgets for ease of use, as it is the one I use most often, however it is £7 for the full version and is very simple and easy for clients to navigate.
These apps work by taking a document you already have developed in a PDF form, and allowing you to write the screen as if you were taking notes in a lecture, writing on the paper. By doing this, a client can compete a PDF form on a tablet, by using the stylus as a pen, and hand it back to you for you to make your own comments, sign the form and save. The best apps save as you go, so that mistakes are easily fixed, but the form isn’t easily deleted.
Goodnotes
PDF Annotation Apps. I’m mentioning Goodnotes as it is currently my app of choice for PDF Annotation and in-person form completion, but there are many others.
An app that works wonderfully for forms to be able to keep electronic forms, and allow you to avoid keeping lots of paperwork on hand. Goodnotes works on Mac, iPad and iPhone.. Best use of electronic forms in this way, are by using an iPad with a compatible stylus.
For best use with forms, downloaded your form on an iPad interface, where your Client can complete their consultation form on that iPad, by using a stylus, to fill in all the details.
To make it easier, you can choose to:
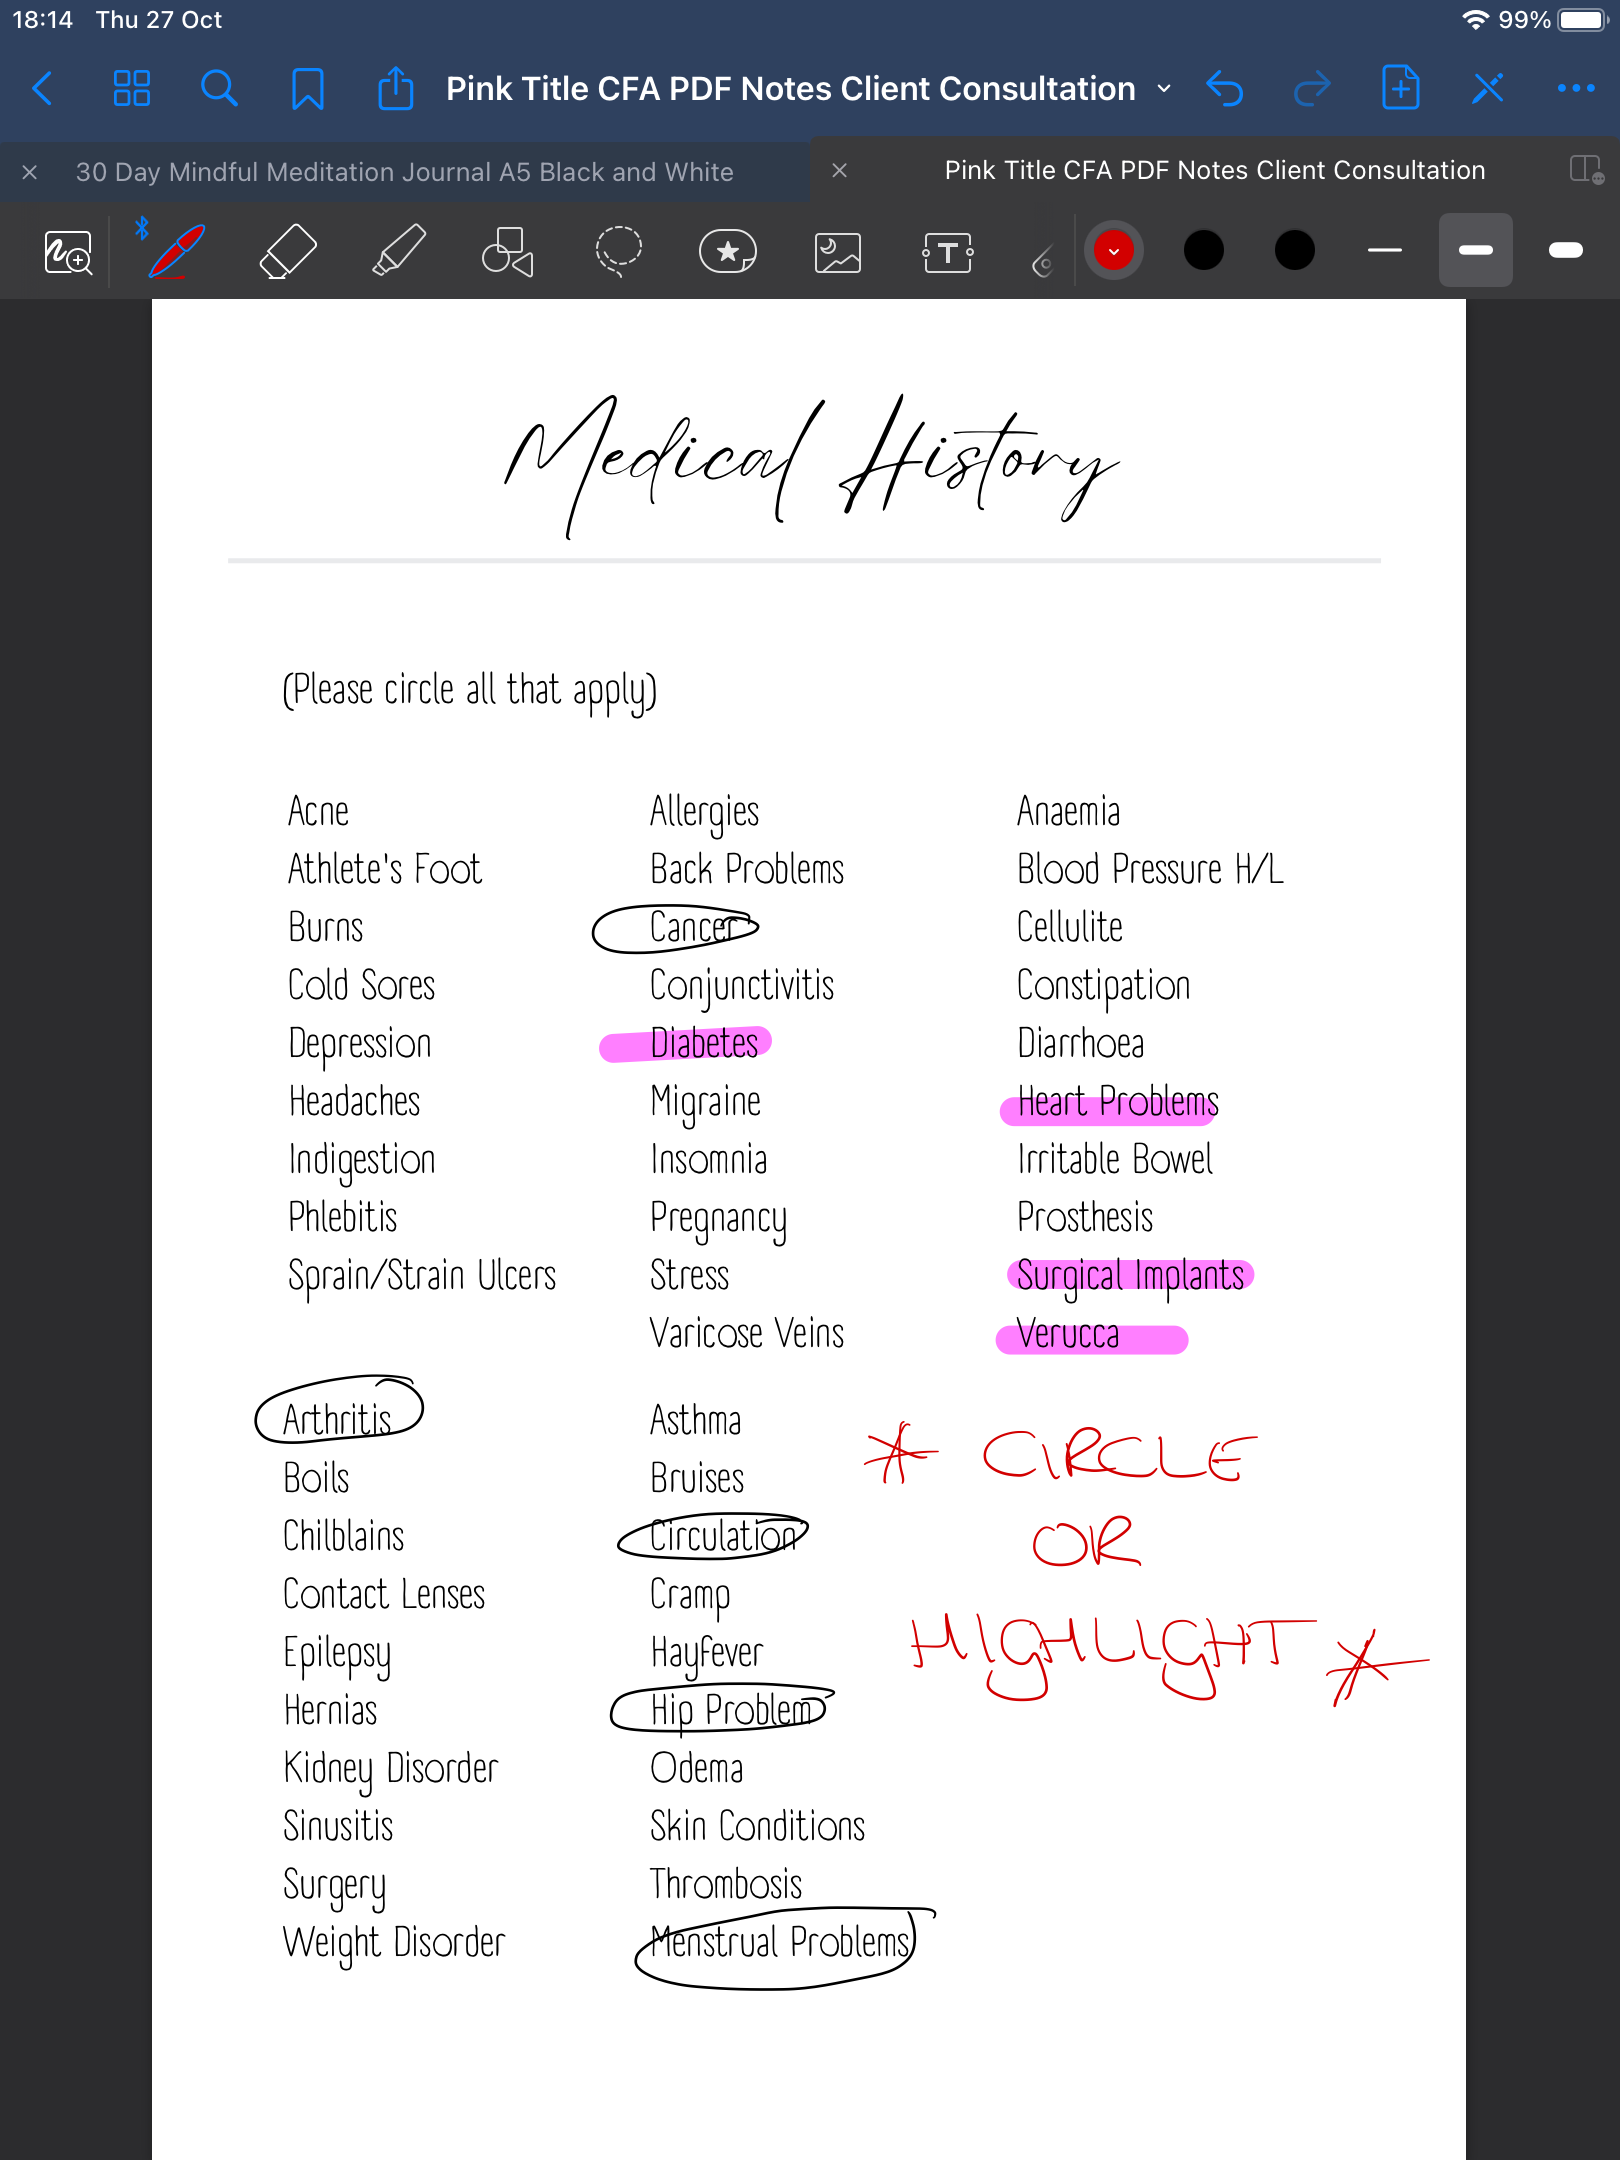
- Use a brush stroke similar to using a ball point pen.
- Change the text colour for what your client enters, and for what you also enter on the form.
- The form auto saves when your Client enters information, reducing the risk of disappearing content while it is being filled in.
- You can choose to also use a highlighter option to mark medical conditions, or simply use the pen tool to circle chosen words.
- Easy to use and navigate.
- Once your client has signed the form, you can sign the form in a different colour, and save the completed file in any location that is legal in your country. GDPR regulations apply in the UK.
Other PDF Annotation Apps
You may already have a PDF Annotation App on your gadget, and it’s worth trying a document to give it a go. Here are some others that are frequently mentioned online, as they may be worth researching.
- Adobe Acrobat Reader
- Google Keep (may be too simple for form filling)
- Microsoft One Note
- Noteshelf
- Notability
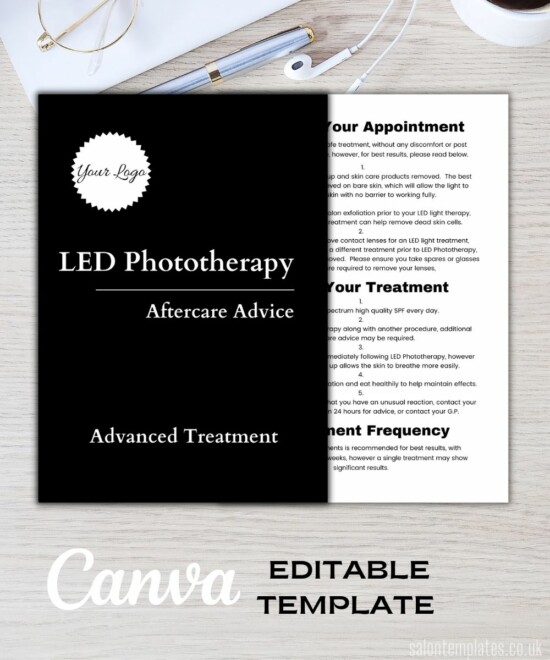
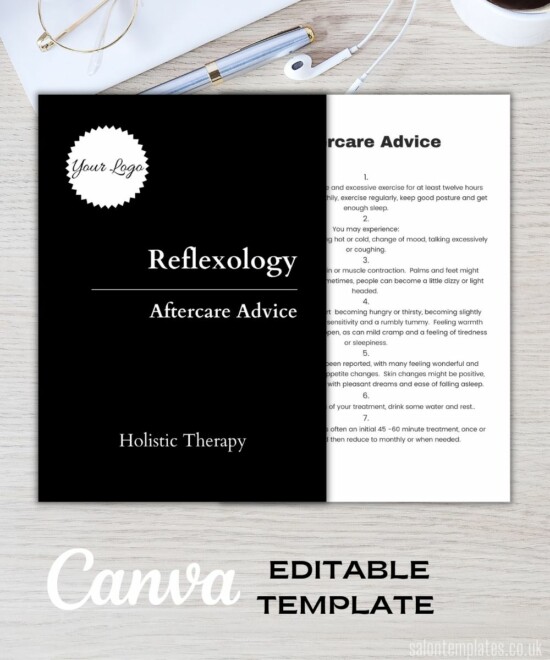
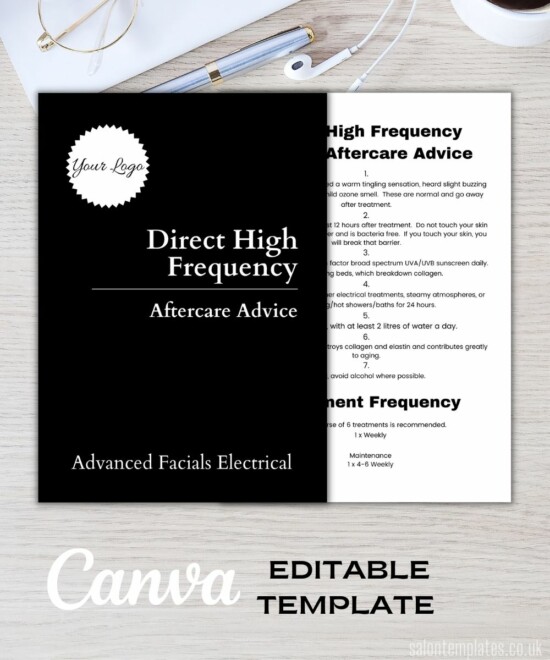
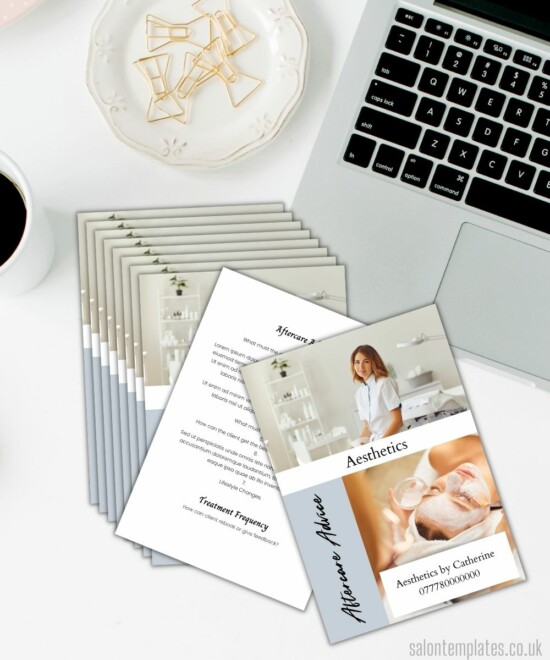
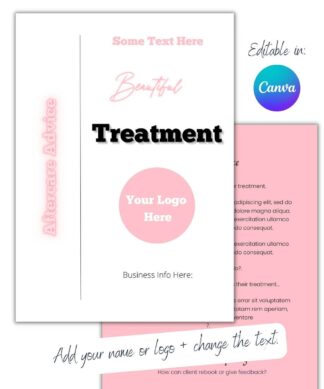
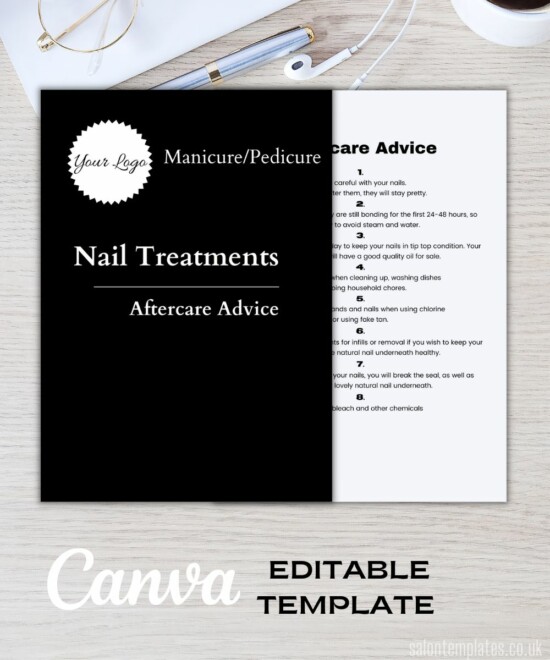
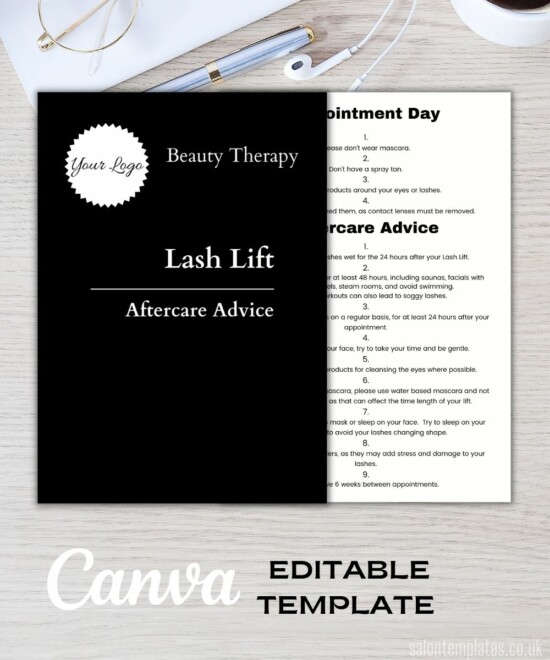
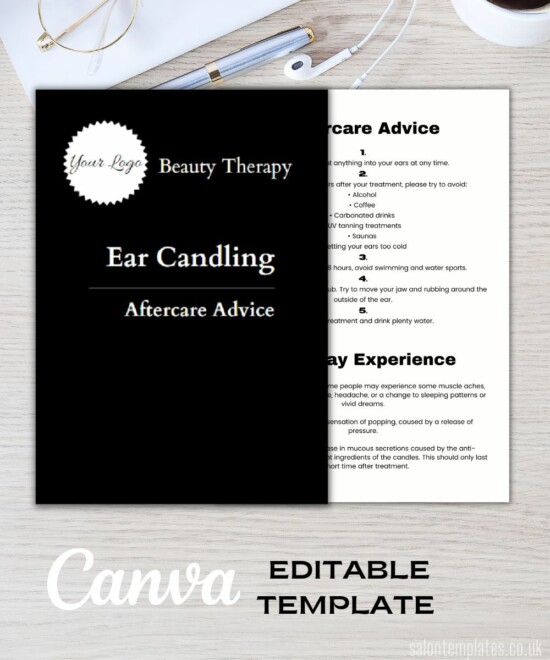
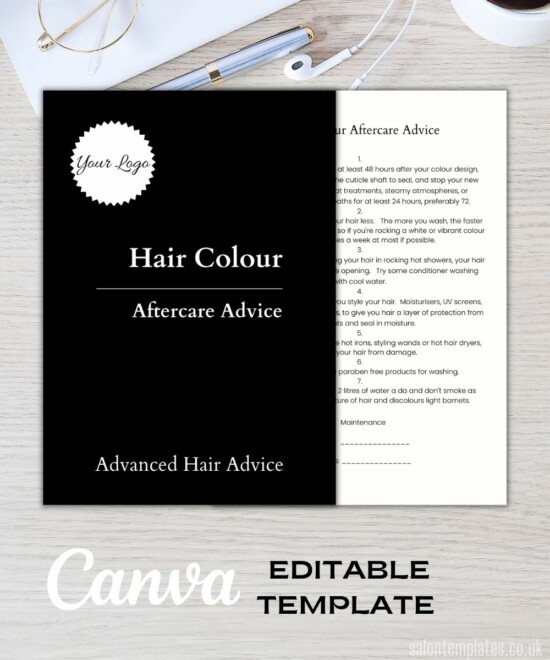
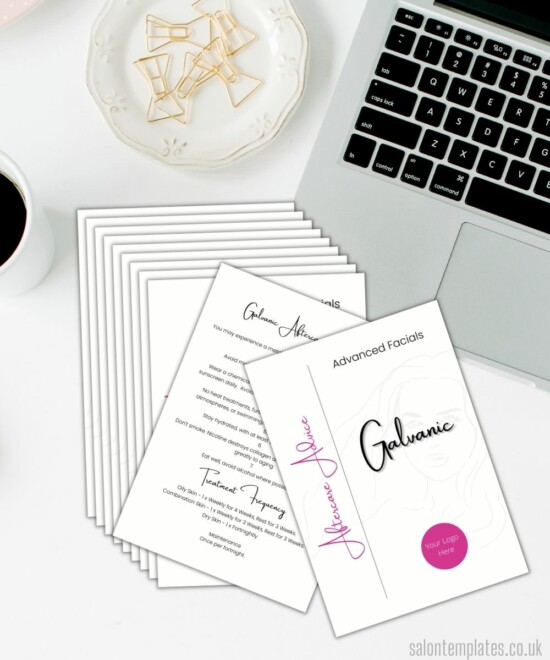
Digital Form PDF – Canva Templates (Easy Edit)
-
 Recipe Book Template – Mums Favourite Recipes£5.00
 -
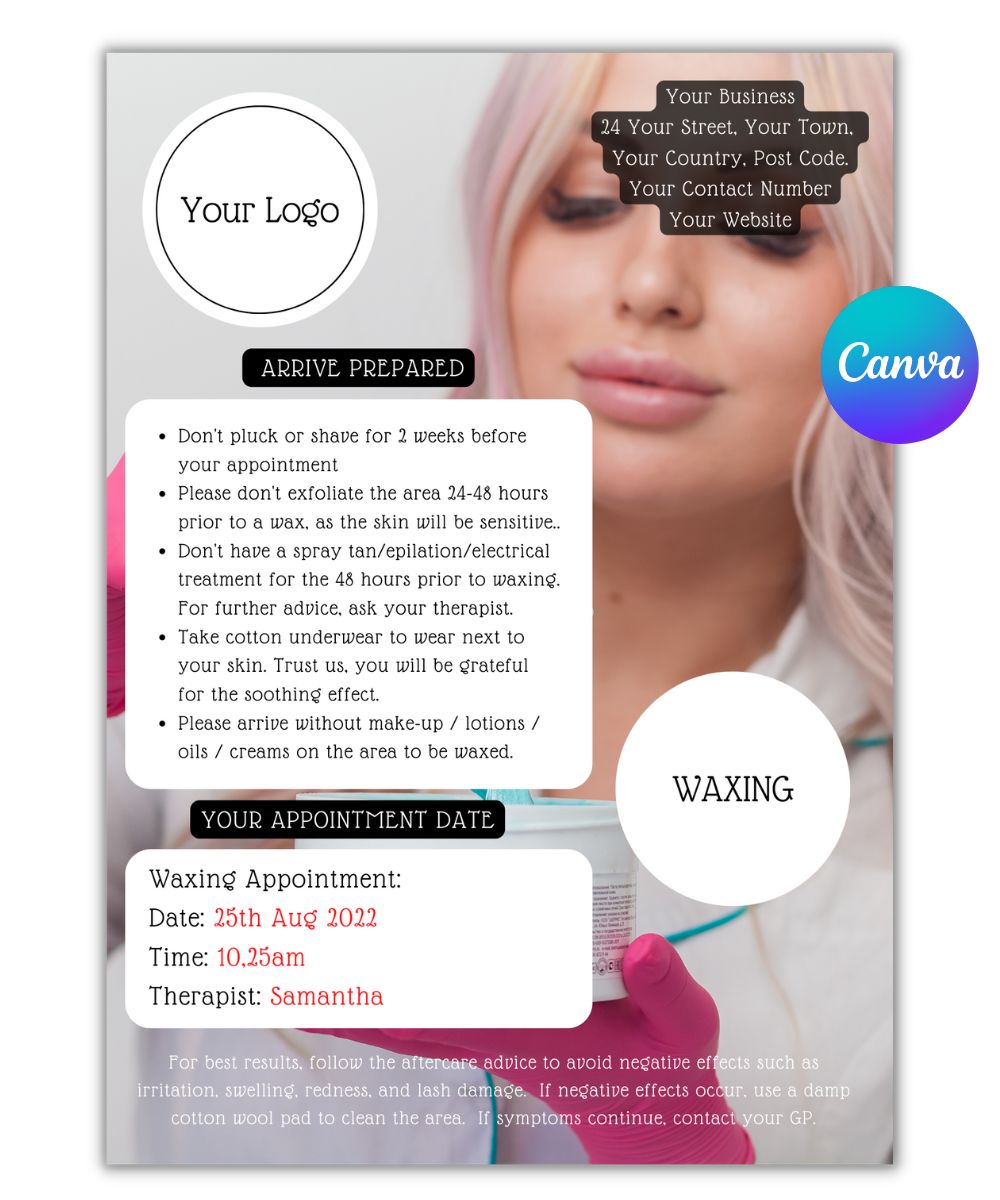
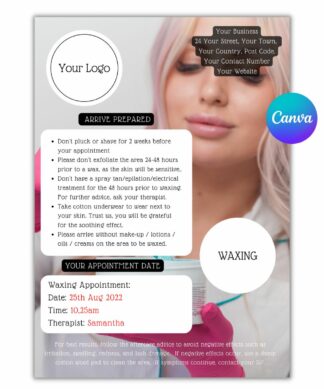
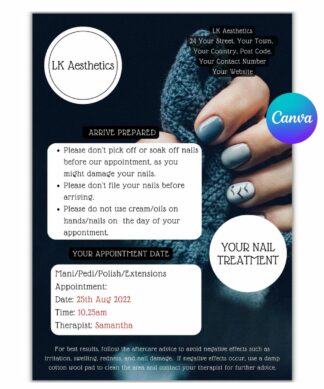
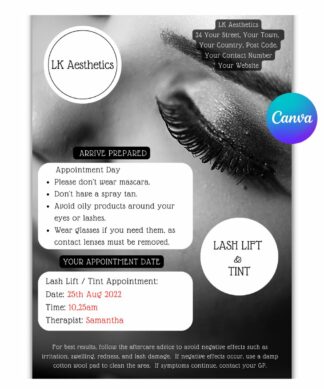
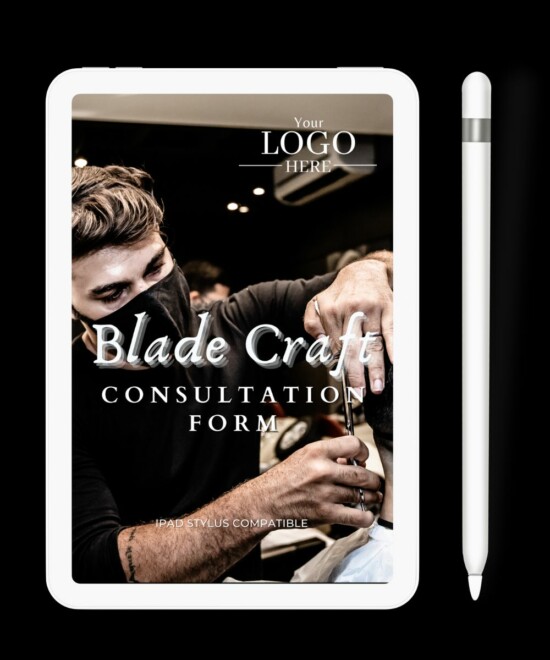 Barber Client Consultation Form Template – iPAD PDF Stylus Compatible Form for Goodnotes and PDF Annotation£6.00
 -
 Peach Client Consultation Form Template – iPAD PDF Stylus Compatible Form for Goodnotes and PDF Annotation Completion£6.00
 -
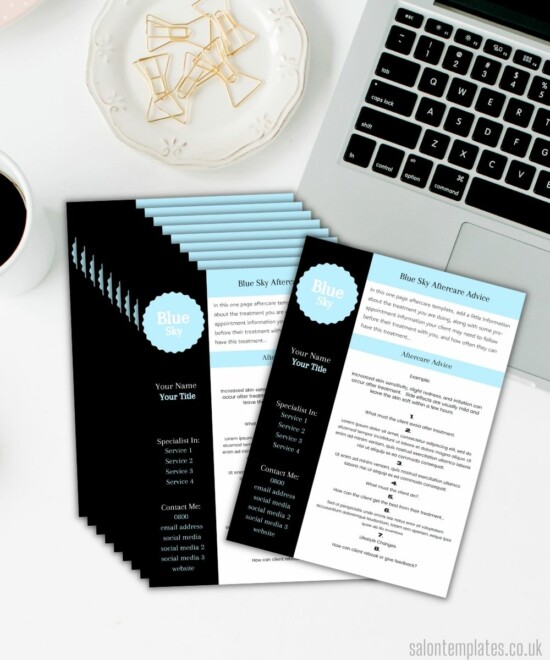
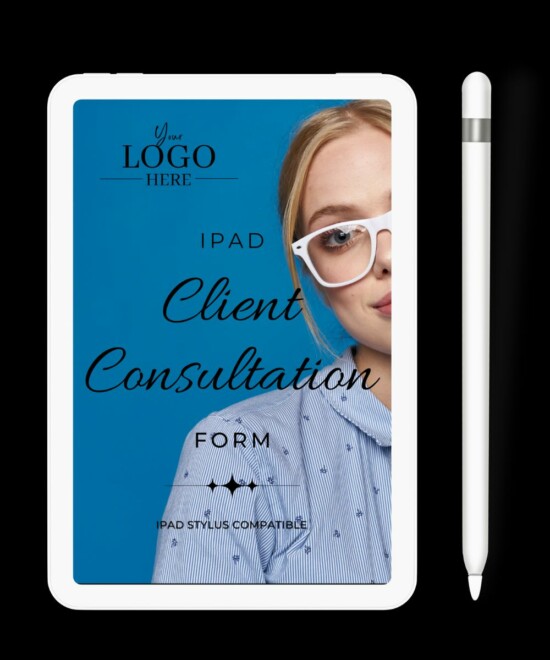 Blue Client Consultation Form Template – iPAD PDF Stylus Compatible Form for Goodnotes and PDF Annotation Completion£6.00
 -
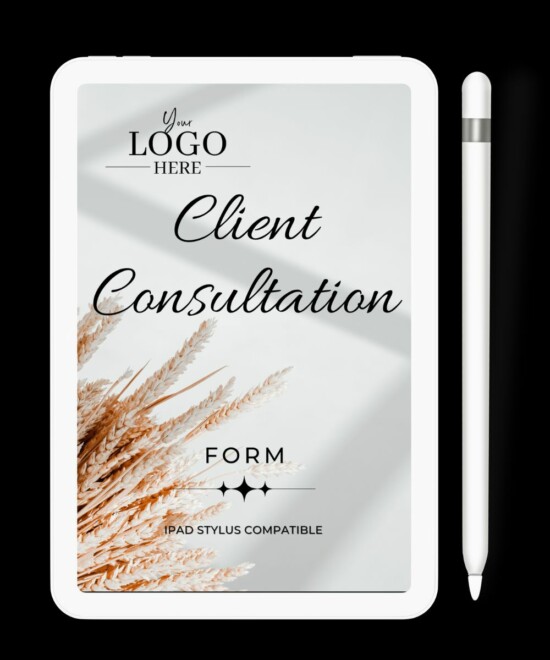 Wheat Client Consultation Form Template – iPAD PDF Stylus Compatible Form for Goodnotes and PDF Annotation Completion£6.00
 -
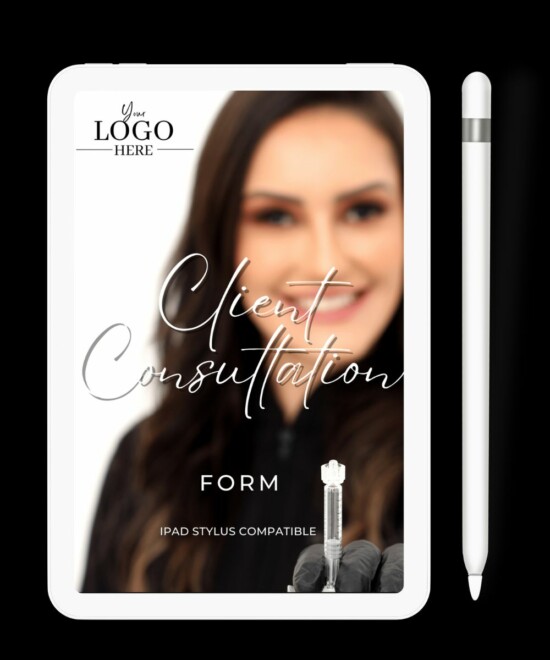 Clinician Client Consultation Form Template – iPAD PDF Stylus Compatible Form for Goodnotes and PDF Annotation Completion£6.00
 -
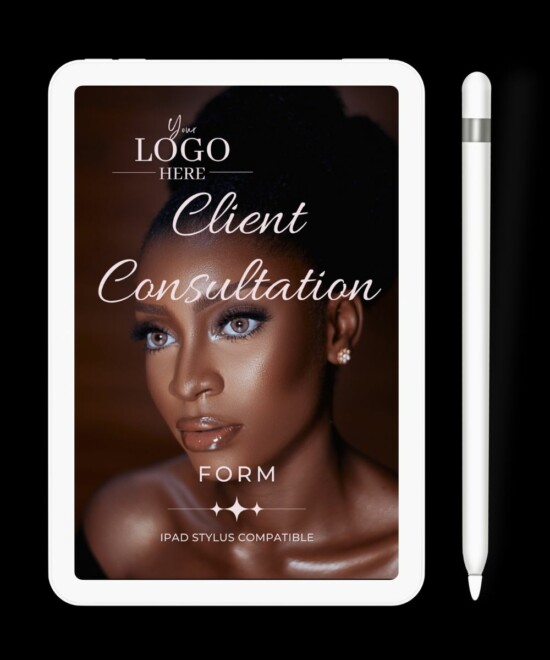
 White Client Consultation Form Template – iPAD PDF Stylus Compatible Form for Goodnotes and PDF Annotation Completion£6.00
 -
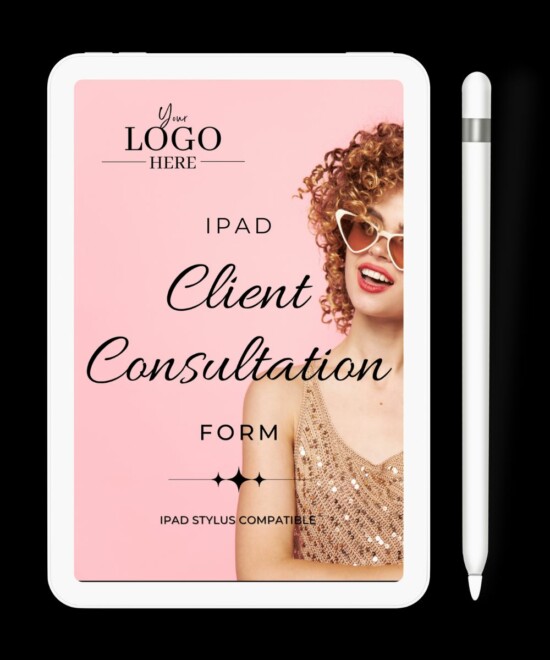
 Pink Title Client Consultation Form Template – iPAD PDF Stylus Compatible Form for Goodnotes and PDF Annotation Completion£6.00